Though I learned to sew as a young child, I never felt that spark of passion for it the way I did for some other crafts. It's a useful skill that I use as I need to. However, learning about and making historical garb has been very interesting for me, and it is certainly helpful when playing in the SCA to be able to clothe oneself, especially if you happen to be on a tight budget, as I am.
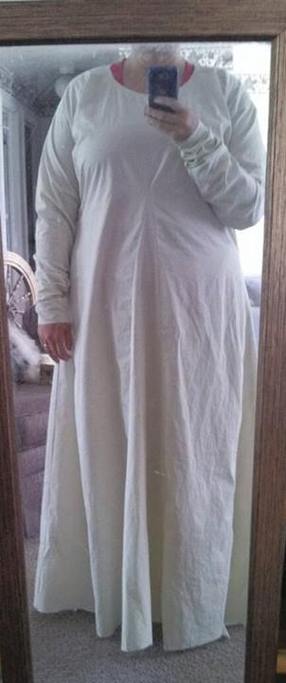
This chemise was the first piece of garb I made for myself. Since it is mostly hidden by an overdress, it's okay if it's imperfect, and it was a good way to learn about the process. The fabric is unbleached cotton muslin. I used a basic t-tunic pattern, primarily based on this worksheet: Page 1 and Page 2. (pro tip - if you are a lady, your bust and waist probably aren't the same, and this tunic has no waist shaping. That's fine for a chemise, but not for a bilaut. It also has rather large armpit gussets, which I found unncessary for the bliaut, which has very tight sleeves, but comfortable and airy for an undergarment). I had never done neck facing before, but found that section of this handout very useful.
This chemise was the first piece of garb I made for myself. Since it is mostly hidden by an overdress, it's okay if it's imperfect, and it was a good way to learn about the process. The fabric is unbleached cotton muslin. I used a basic t-tunic pattern, primarily based on this worksheet: Page 1 and Page 2. (pro tip - if you are a lady, your bust and waist probably aren't the same, and this tunic has no waist shaping. That's fine for a chemise, but not for a bilaut. It also has rather large armpit gussets, which I found unncessary for the bliaut, which has very tight sleeves, but comfortable and airy for an undergarment). I had never done neck facing before, but found that section of this handout very useful.
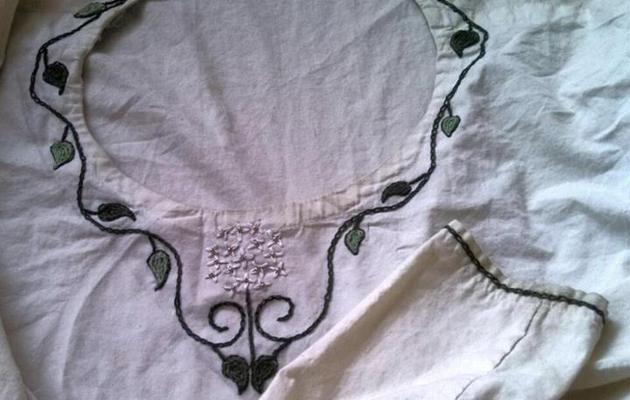
I embellished the hems and neckline of the chemise using period stitches found in this handout. The central motif is a wild garlic flower (N.B. I now know that they have six petals, not four). The gold beads in the centers of the florets are pushing it a bit, period-wise, but glass and metallic beads were just starting to be carried back from the Holy Land by returning crusaders in my period, so I'm assuming my persona may just have had access to a few. I did find some documentation of this, but can't find it at the moment, so I'll add that later.
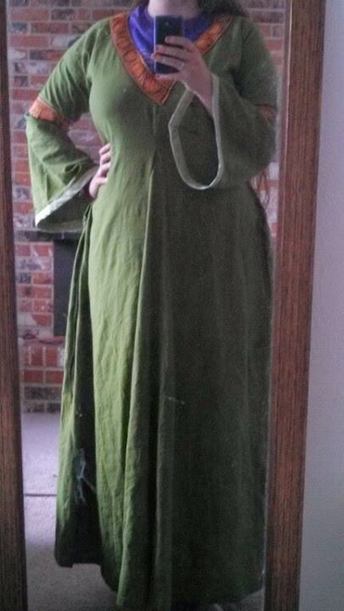
My finished overdress. The material is a linen/rayon blend. This is sort of an unintentional hybridization of a tunicand a bliaut, and seems to look more like the English version of this garment than the French one. I used the basic worksheet above, but skipped the gussets under the arms, and shaped the sleeves so that they tapered down from upper arm to elbow, then flared at the hems. The piece before cutting looked kind of like an hourglass. Because the shoulders are square and a bit too wide the sleeves pull up slightly, something I may fix at some point, and will definitely switch on my next dress. I used cotton bias tape around the edges of the sleeves, which I haven't found period sources for and would leave out next time. The neck and sleeve embellishment are jacquard ribbon I bought online. For next time I will embroider or use a tablet-woven band, something I'm learning to do. You can see that the gore comes up quite high on the waist. A true bliaut would have gores starting at the hip flare (or a separate pleated skirt), and a hem that extends to the ground. Though it's not evident in this picture, I did do some attempts to make it more fitted than the chemise by cutting out the sides and adding lacing, as can be seen in the statues at Chartres Cathedral. It's not tight enough, but I will probably leave this dress as-is. It is worn with a belt and is actually quite comfortable. Please follow along to my next set of garb for lots of thoughts on why this isn't quite perfect and what I've learned since then.
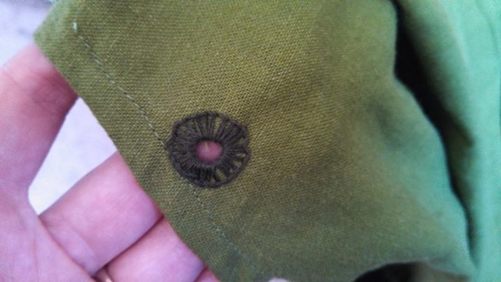
I made handsewn eyelets on the sides for lacing. I found a knitting needle makes a great makeshift awl, as does one of my pointy hair sticks. I used buttonhole stitch for this. There are lots of tutorials online, but I referred mostly to this one. I used cotton embroidery floss. You can also see the polyester thread and machine-sewn seam of the side hole. What are those things called, anyway?
This is my veil. It is white cotton muslin cut in a circle about 30 inches across. I sewed a hand-sewn rolled hem using this tutorial. The edging is Armenian Edging Stitch. I don't have any documentation of this in period, but needle lace was beginning to be made in the 12th century and I thought this was pretty. I still think I look really silly in a veil (I have a big head and round face), but I found this tutorial about wearing them useful. I typically skip the barbette. Someday I will have a lovely silk veil, or maybe linen, but this works and keeps the sun off and hides messy hair. ;) I don't wear my veils like this any more, but it's perfectly period and respectable. Pardon the awful photo quality.
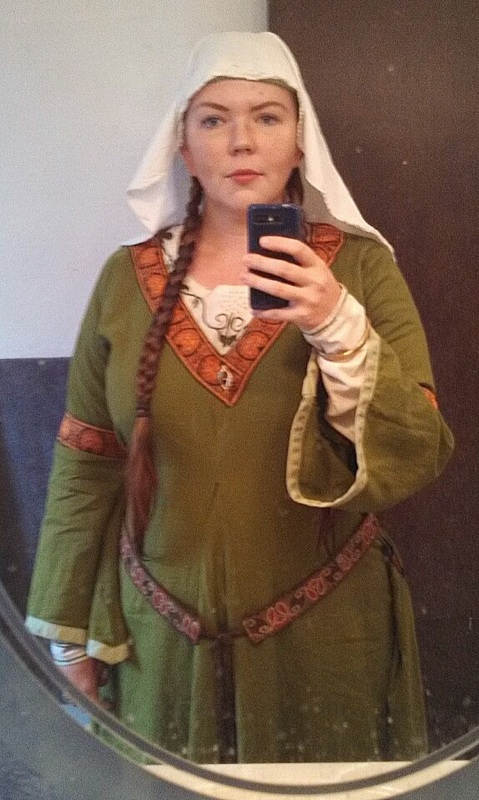
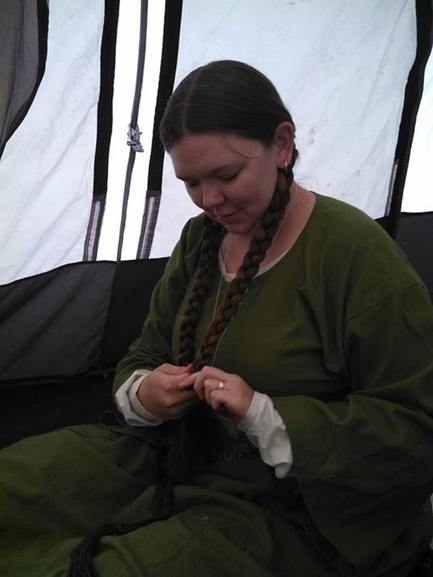
My hair is probably the easiest thing for me to make period-correct. I have lots, as you can see, and in the 12th century long braids were all the rage, though some say they're not as common as people thing. I need to get/make some fancy tape/ribbon to braid into it, though. No fake hair or braid covers needed. Also note that the dress isn't in its finished form in this pic. I ran out of time before Uprising War, my first event.
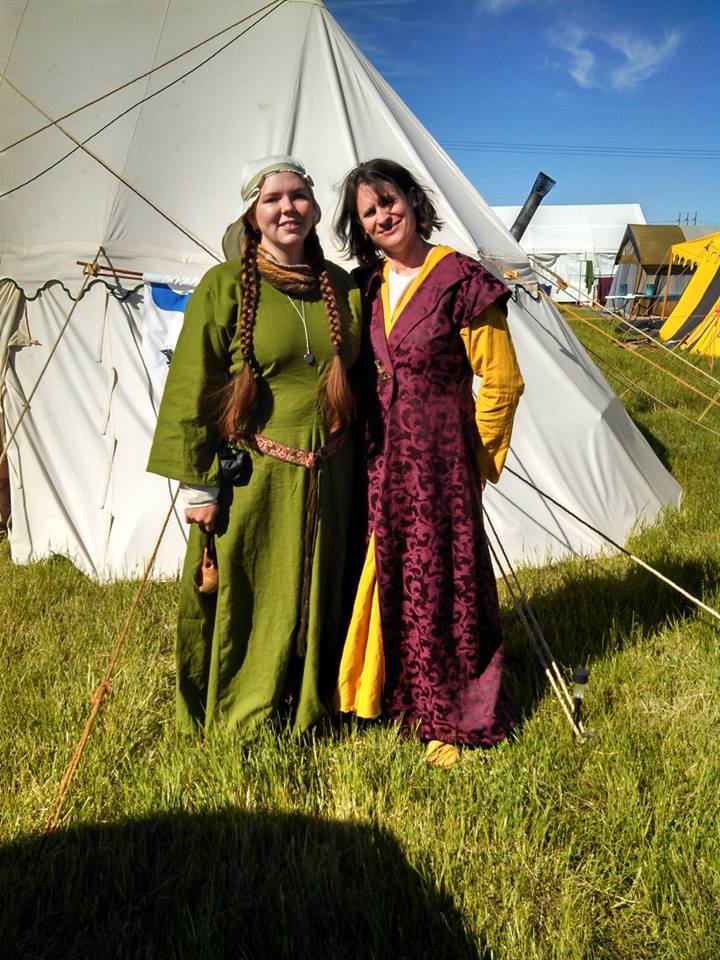
I don't have a lot to report about that first Uprising, since I was only there for part of the event, didn't really understand how to take classes or participate, and I was so shy. Here is the only other photo I have, with Mistress Alessandria.
 RSS Feed
